> For the complete documentation index, see [llms.txt](https://doc.dataflake.co/llms.txt). Markdown versions of documentation pages are available by appending `.md` to page URLs; this page is available as [Markdown](https://doc.dataflake.co/dashboard/json-card.md).
# JSON Card
### **How to add a JSON card**
To add a JSON card to your reports,
1. Click the  icon on the left toolbar.
2. Drag select an area you want to add the JSON card on the report.
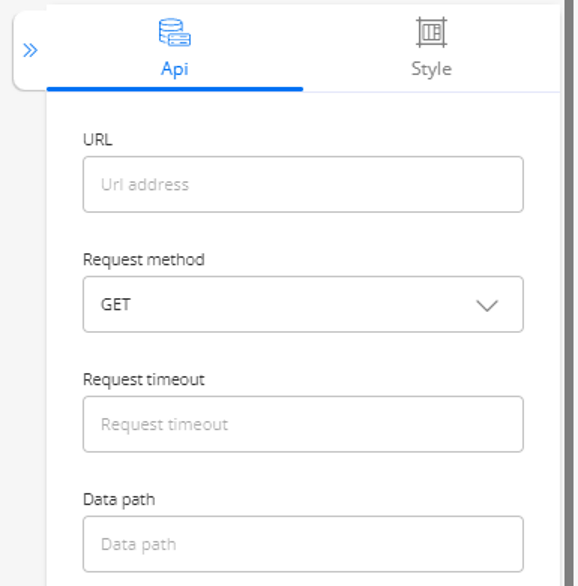 * **URL:** enter the full URL that you want to get data from. Note:
* Because of security policies, your URL have to use https scheme.
* Can include a param and allow user to change it in a filter.
* Example:
* **Request method:**
* Get: retrieve data from a server at the specified resource.
* Post: send data to a server to create/update a resource.
* **Request timeout:** maximum time when trying to call API. When request time exceeds the maximum, we will show an error.\
Note: Leave it empty if you don’t want to set a maximum time.
* **Data path:** path to a property of response JSON object (in case user don’t want to display whole response object)\\
* Note: leave it empty to display whole response
* Example: When your api response with: { status: “success” data: { propertyA: “valuable data”\
} } And you want to show only “valuable data", you can config data path = data.propertyA
#### **Style a JSON Card**
Choose the look for your JSON card
* **URL:** enter the full URL that you want to get data from. Note:
* Because of security policies, your URL have to use https scheme.
* Can include a param and allow user to change it in a filter.
* Example:
* **Request method:**
* Get: retrieve data from a server at the specified resource.
* Post: send data to a server to create/update a resource.
* **Request timeout:** maximum time when trying to call API. When request time exceeds the maximum, we will show an error.\
Note: Leave it empty if you don’t want to set a maximum time.
* **Data path:** path to a property of response JSON object (in case user don’t want to display whole response object)\\
* Note: leave it empty to display whole response
* Example: When your api response with: { status: “success” data: { propertyA: “valuable data”\
} } And you want to show only “valuable data", you can config data path = data.propertyA
#### **Style a JSON Card**
Choose the look for your JSON card
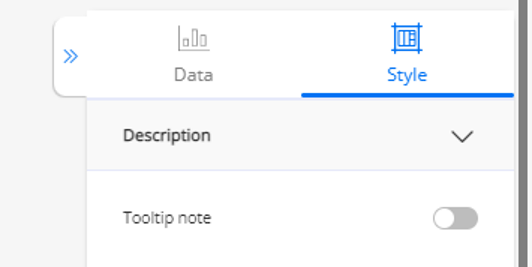 1. Click on tab “Style” in the right panel
2. Tooltip note: Note on the box, then you can see the question mark on the top right corner of filter
3. The rest styling options appear on the bottom toolbar
1. Click on tab “Style” in the right panel
2. Tooltip note: Note on the box, then you can see the question mark on the top right corner of filter
3. The rest styling options appear on the bottom toolbar
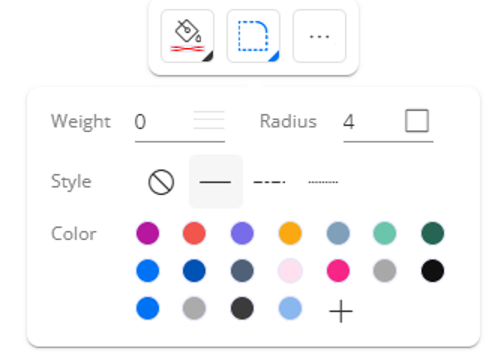
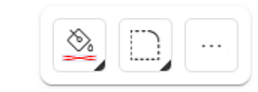 **JSON Card style**
1. **Fill color:** Fill color to the box
2. **Border:**
3. **Weight:** choose weight for the line of filter box
4. **Radius:** Choose to round filter box
5. **Style:** Style the line of filter box
**JSON Card style**
1. **Fill color:** Fill color to the box
2. **Border:**
3. **Weight:** choose weight for the line of filter box
4. **Radius:** Choose to round filter box
5. **Style:** Style the line of filter box
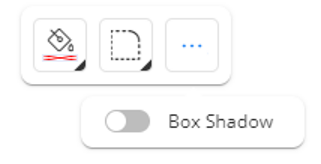
 6. **Add box shadow:** enable if you want to give the log element a more prominent look