> For the complete documentation index, see [llms.txt](https://doc.dataflake.co/llms.txt). Markdown versions of documentation pages are available by appending `.md` to page URLs; this page is available as [Markdown](https://doc.dataflake.co/dashboard/ui-elements.md).
# UI elements
### **Text**
Add titles, headings, and descriptions to your reports using text.
#### **Add Text**
Select the  icon from left toolbar.
Click on the canvas to place a box
Fill up the blanks with your text.

#### **Style Text**
1. Select the text you want to use.
2. Change the font, size, color, alignment, overflow settings, border settings and other properties of the text in the toolbar underneath

### **Shape**
Shape is used to visually separate data components, banners, and other graphical effects
**Add Shape**
1. Select the **Shape** icon from the toolbar to create a shape
2. Square
3. Triangle
4. Octagon
5. Oval / Circle
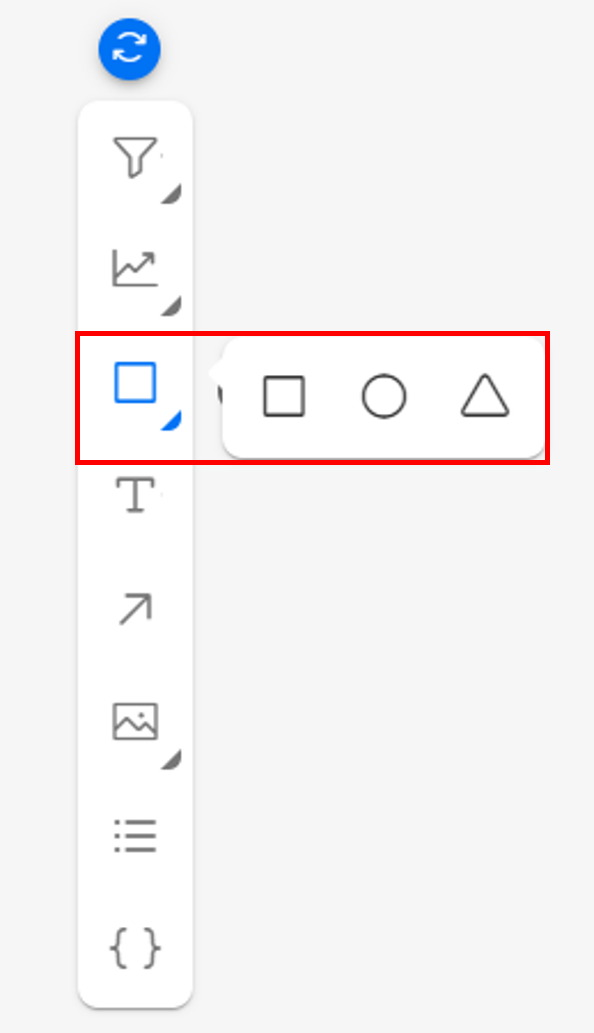 On the canvas, click to place a box where you want the shape to appear.

#### **Style a shape**
To adjust the shape’s look, use the shape **Style** toolbar underneath the shape
1. **Shape tyle:** change type of shape
2. **Border style:** include solid, dashed, dotted
3. **Border color:** remove or set colors for border
4. **Shape color:** choose colors for shape
5. **Border**
* Border weight: set the lightness or thickness for the border.
* Border radius: make rounded corners for shapes
* Style and color of border

### **Image**
Images are used to add logos and pictures to your dashboard
#### **Add an image**
Select the  icon from the toolbar.
On the canvas, click to place a box where you want the shape to appear.

#### **Style a shape**
To adjust the shape’s look, use the shape **Style** toolbar underneath the shape
1. **Shape tyle:** change type of shape
2. **Border style:** include solid, dashed, dotted
3. **Border color:** remove or set colors for border
4. **Shape color:** choose colors for shape
5. **Border**
* Border weight: set the lightness or thickness for the border.
* Border radius: make rounded corners for shapes
* Style and color of border

### **Image**
Images are used to add logos and pictures to your dashboard
#### **Add an image**
Select the  icon from the toolbar.
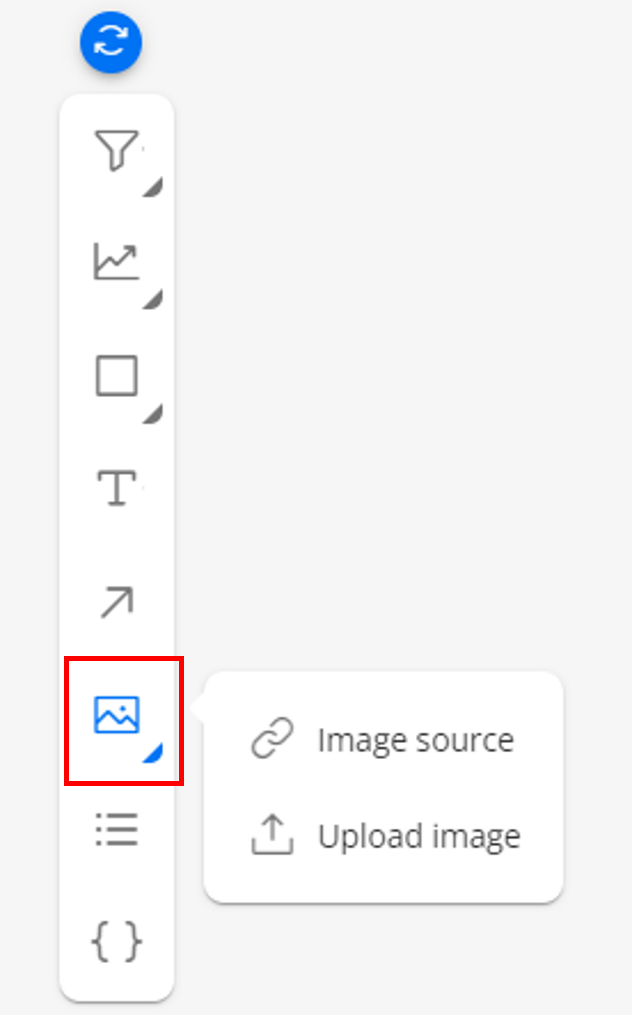 Choose the type of image you would like to upload.\
**From URL link:** type in the URL for a web-based image.\
**Upload from your computer:** choose an image from your hard drive and insert it into the canvas.
On the canvas, place a box where you want the image to display. The image’s size is determined by the size of the box.
**Choose image size type.**
**Fit:** The image is sized automatically to fit the frame (the image ratio will change depending on the frame size)\
**Contain:** The image is scaled to maintain its aspect ratio.\
**Cover:** The image is sized to maintain its aspect ratio while filling the frame
**Style image with background color and border radius option**
Choose the type of image you would like to upload.\
**From URL link:** type in the URL for a web-based image.\
**Upload from your computer:** choose an image from your hard drive and insert it into the canvas.
On the canvas, place a box where you want the image to display. The image’s size is determined by the size of the box.
**Choose image size type.**
**Fit:** The image is sized automatically to fit the frame (the image ratio will change depending on the frame size)\
**Contain:** The image is scaled to maintain its aspect ratio.\
**Cover:** The image is sized to maintain its aspect ratio while filling the frame
**Style image with background color and border radius option**